Unit 2. Creating a Target Hive Table
In this unit, create a Hive table named employee with the required columns defined.
In the EnOS Management Console, click Data Explorer from the left navigation panel.
On the Data Explorer page, click the New Note button.
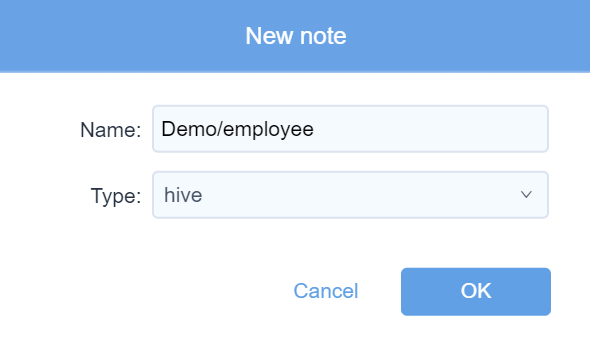
In the Name field, enter
Demo/employeeas the name of the note, which means that a hive table with the nameemployeeis created under theDemo/directory.In the Type drop-down list, select hive as the note type.
Click OK to save the note.
Click the Enter note icon
 from the Operation column of the created note to open it.
In the note, enter the following script for creating the Hive table:
%hive
use db_demomanager;
create table employee (serial_id int, birthday date, first_name string, last_name string, gender string, onboard_date date);
comment 'table for employee info';
备注
In this example, db_demomanager is the database name of the organization. You need to replace it with that of your own organization. The fields serial_id, birthday, first_name, last_name, gender, and onboard_date are the column headers of the created Hive table. Ensure that the data type of the fields matches with that of the fields in the source data.
Click the Run this paragraph icon
 . You can see the Hive table named employee created successfully, as below:
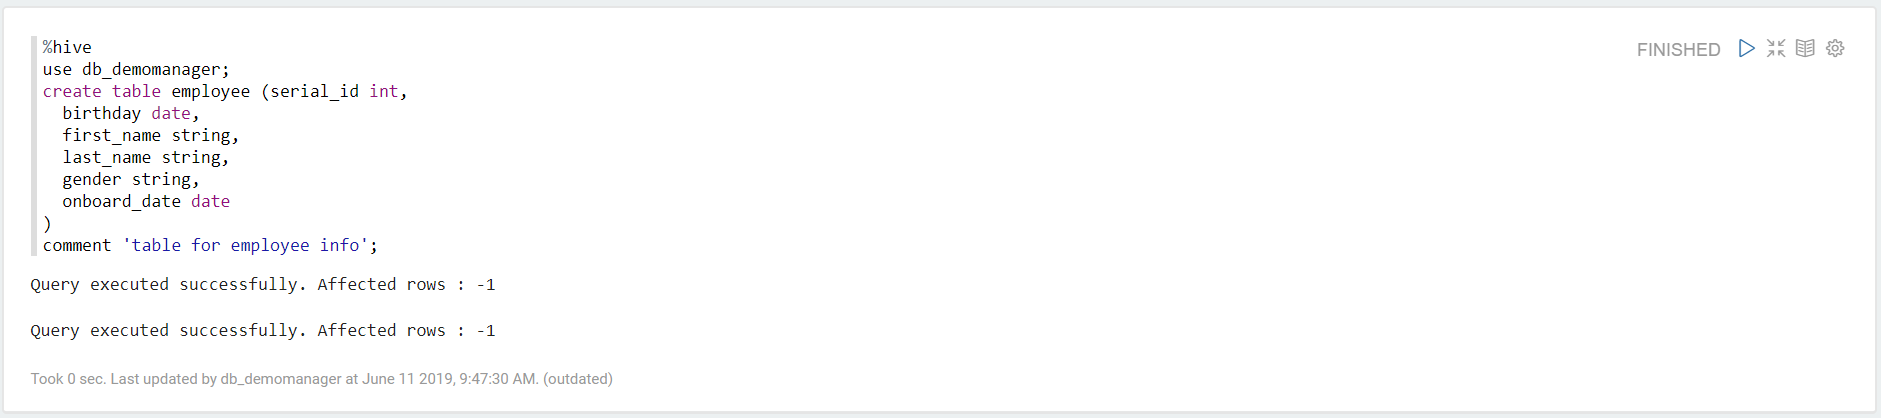
Run the following query script to test the result:
%hive
select * from employee limit 100
The columns of the Hive table will be displayed, as below:
