Creating a Channel
Before using the Data Federation service to read data from and write data to data storage systems, you need to create a read channel or write channel.
Prerequisites
You are able to access the Data Federation module.
Your OU has requested for the Data Federation resource.
You have registered the data source types that you need through Data Source Registration.
Creating a Channel
Log in to the EnOS Management Console and click Data Federation > Channel Manager. If your OU has not requested for the Data Federation resource, go to the Resource Management page. If your OU has not registered the required data sources, go to the Data Source Registration page.
Click New Channel, enter the channel name, select the channel type (READ or WRITE), enter a short description about the channel, and click OK to open the channel configuration page.
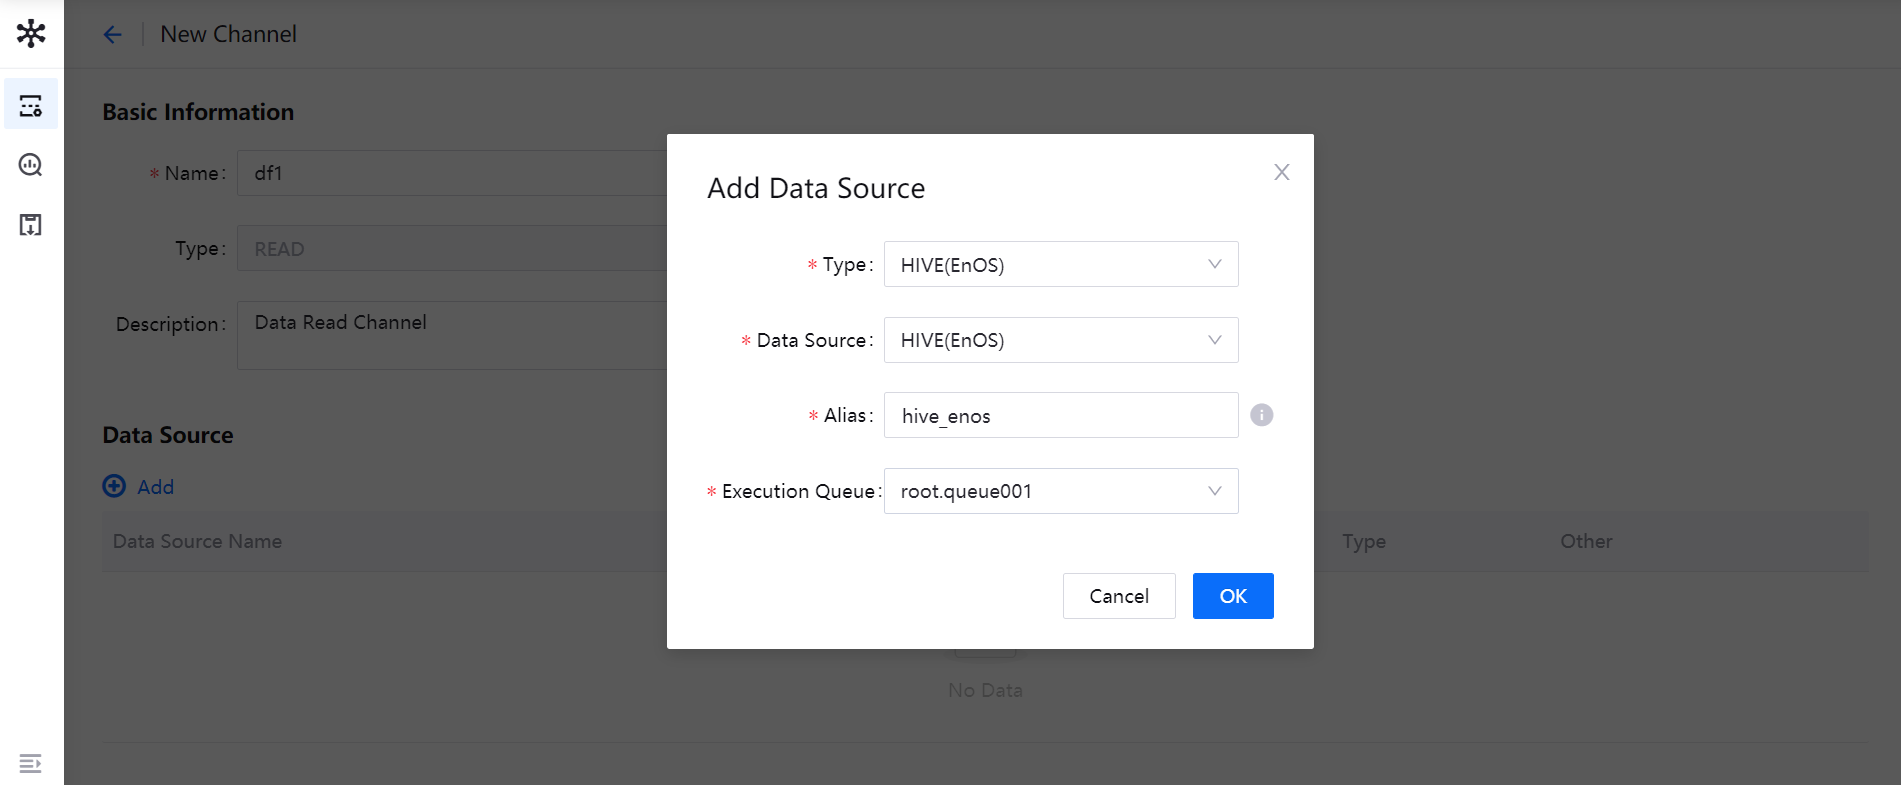
In the Data Source section, click + Add to configure the data source information in the pop-up window.
Type: Select the data source type from the drop-down list.
Data Source: Select the registered data source from the drop-down list.
Alias: Set the alias for the selected data source. Once submitted, the data source alias cannot be changed.
Execution Queue: If the data source type is HIVE(EnOS), select the queue resource for running batch data processing jobs (the Batch Processing - Queue resource requested through Resource Management)
Repeat step 3 to add more data sources (a single data source can be added only once, and the data source alias must be unique in the OU).
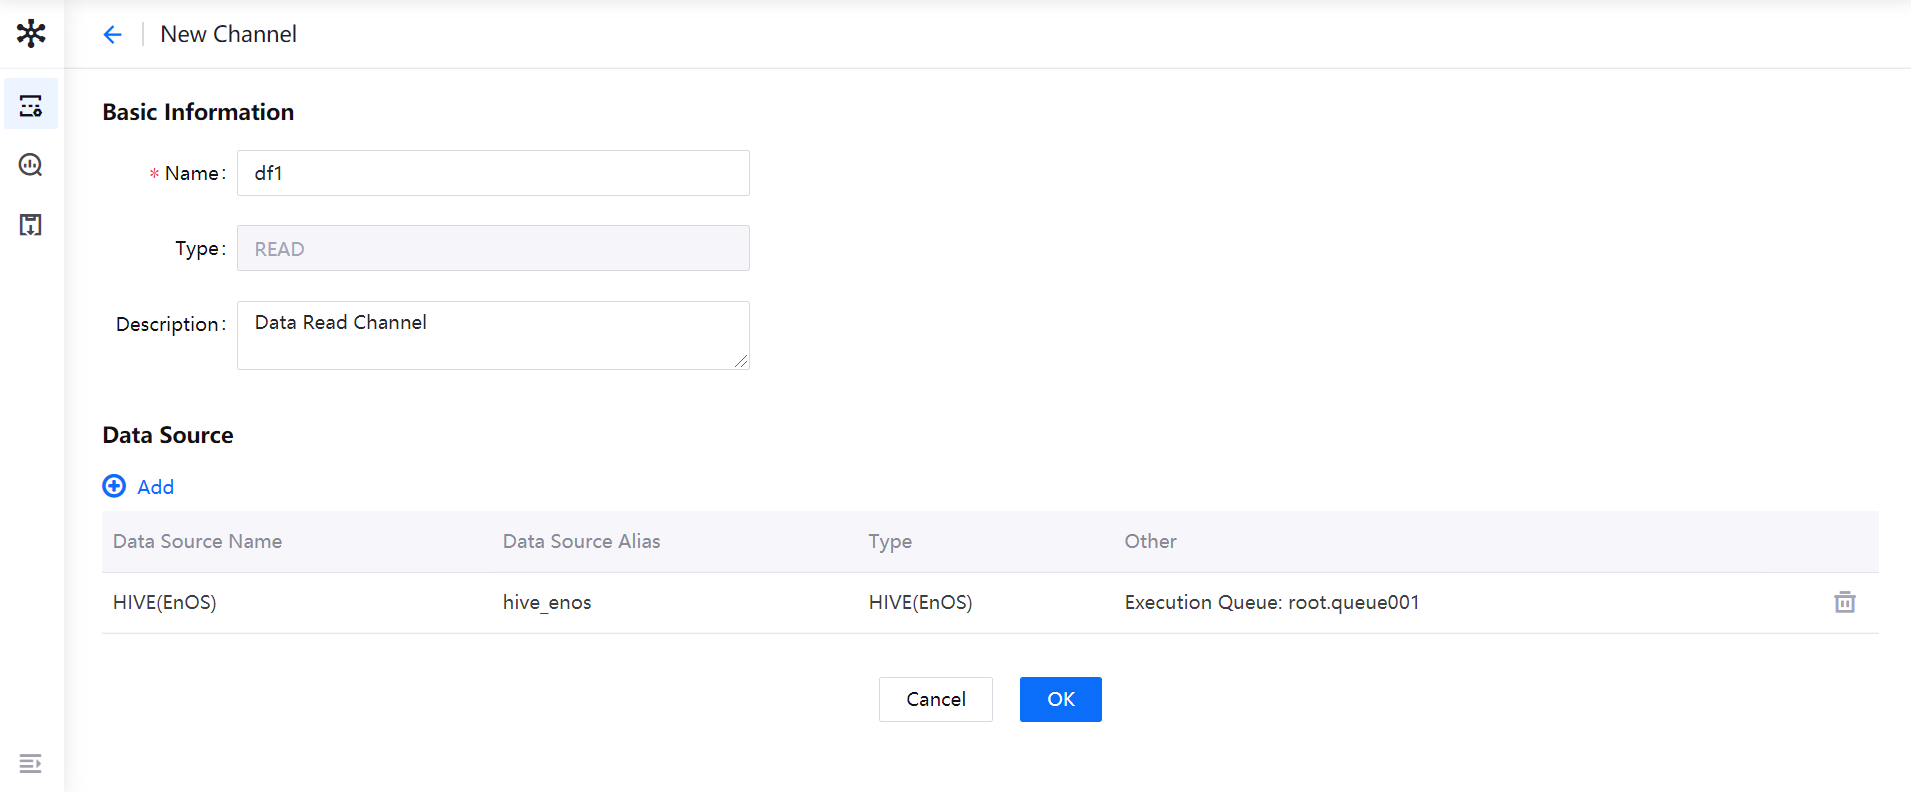
When the above configuration is completed, click OK to submit the channel configuration. Once submitted, the default status of the channel is Stopped. You need to start the channel manually and set the resource that is required for running the channel.
Starting the Channel
When the channel is created, you can start the channel with the steps below.
From the list of channels, find the created channel, and click the Start icon.

In the Startup Configuration window, select the requested resource and the amount of resource that is required for running the channel. If the requested resource does not meet the requirement, request for more quota through the Resource Management page.
For read channels, you can select whether to enable cross-source analysis.
Enable cross-source analysis: When querying data, you can use unified SQL statement for querying data from multiple data sources.
Disable cross-source analysis: When querying data, you need to select the target data source, and the SQL statement can be applied to the selected data source only.
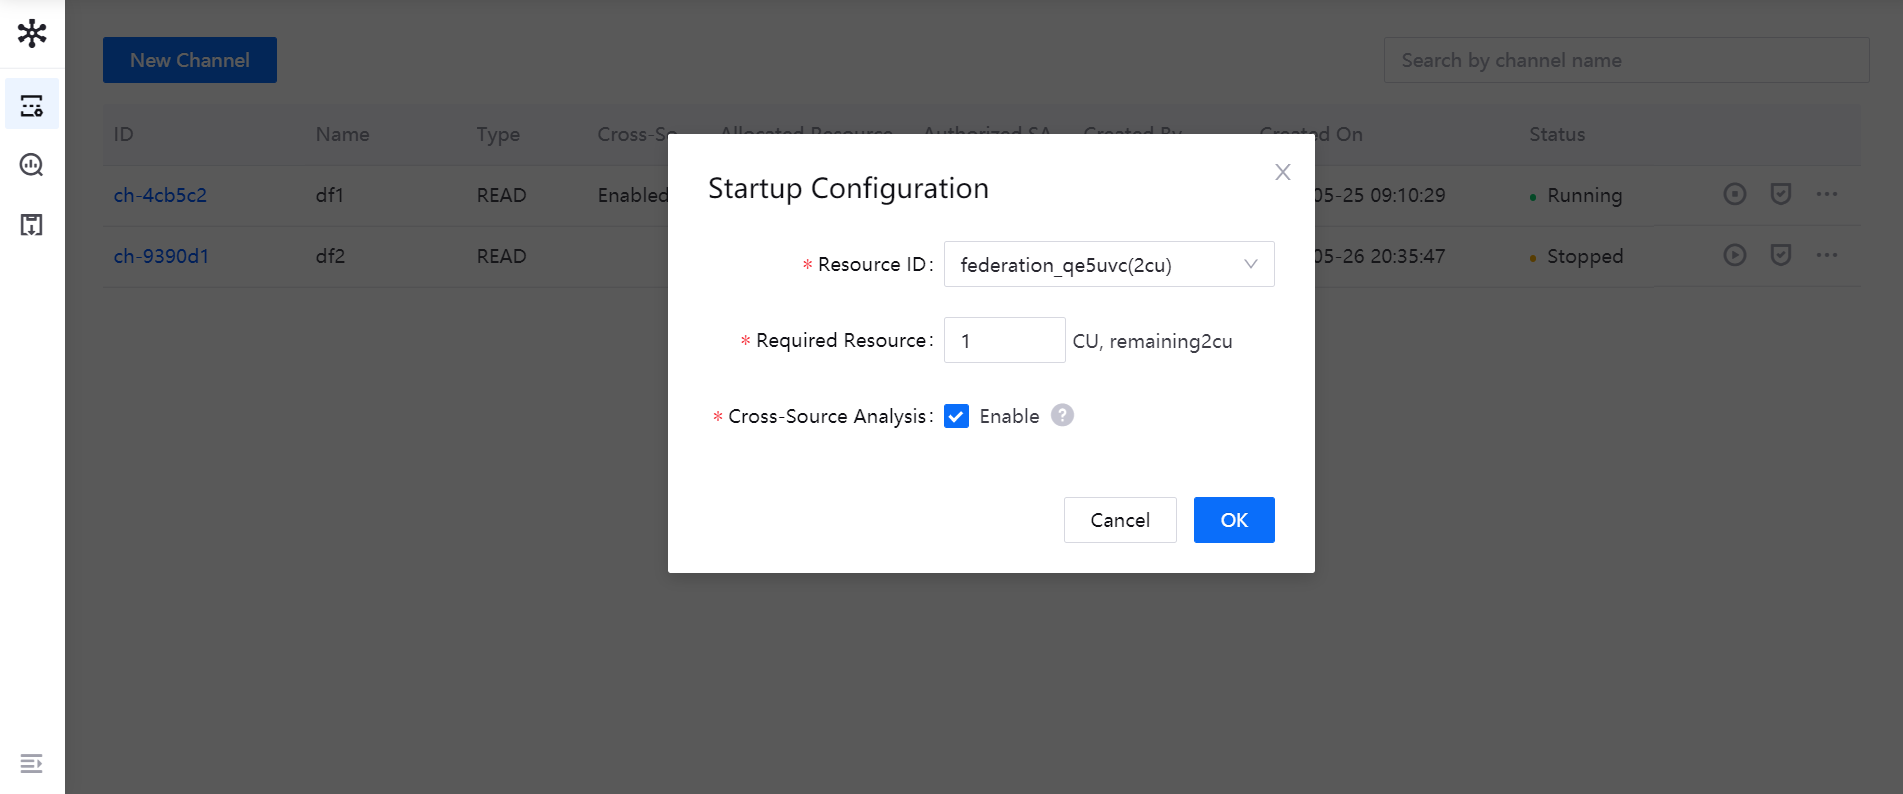
Click OK to start the data federation channel.
Note
If the channel is to be used for downloading files, the cross-source analysis feature must be disabled.
Retrieving the Channel URL
When the channel is running normally, you can get the URL of the channel with the steps below.
From the list of channels, find the running channel, and select … > Get URL.
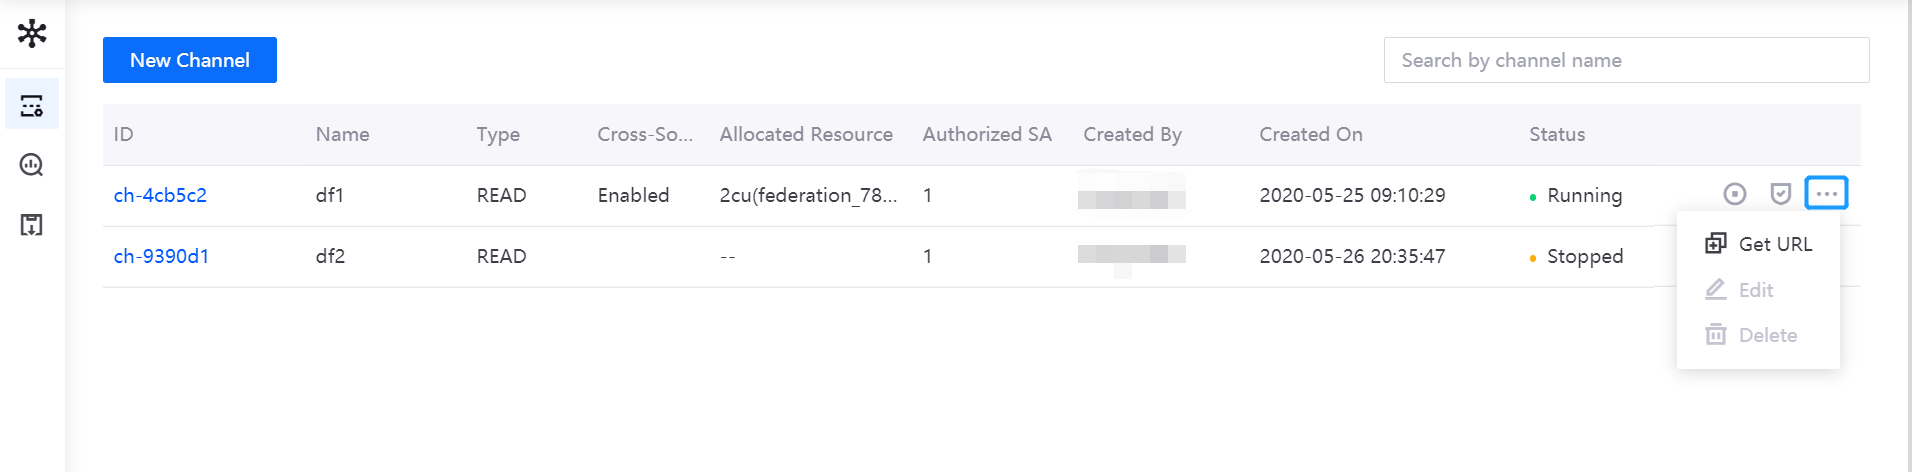
In the pop-up window, copy the generic URL, JDBC URL, or OData URL, which can be used for accessing the data separately. For more information about accessing data through each protocol, see Data Read and Write.