Creating Stateless Applications
Stateless Application means that the application does not save client data in the session that is needed for the next session. Each session is executed as if it were the first, and does not rely on previous data to respond. Stateful Application means that the application saves client data in the session and uses that data in the next request from the client.
The purpose of this document is to start a container application using Deployment in cluster management.
Prerequisites
Have a system administrator account, see Quick Start to Multi-Tenant Management.
Have a namespace administrator, cluster administrator account, authorized by the system administrator, see Creating User and managing roles, to assign permissions to namespace administrators and cluster administrators.
Upload the image in application development to a project with the same name as the namespace (upload via pipeline with pipeline name with the same name as the namespace).
Procedures
Log in to the Application Development (you can contact EnOS Support for the URL) service, select the organization and project (i.e., namespace), and in the left navigation bar, select Development > Pipeline to create a pipeline with the same name as the project and build it. For more information on pipelines, see Managing Pipelines. As shown in the example below.
Project: apaas
Application name:demo-01
Pipeline name: apaas
After the pipeline is successfully built, log in to the Cluster Management (contact EnOS Support for the URL) service.
Select the cluster, the cluster environment to which the pipeline created in the application development is deployed.
Select the namespace, which is the name of the project in the application development, as in the example in the above step, select apaas for the namespace.
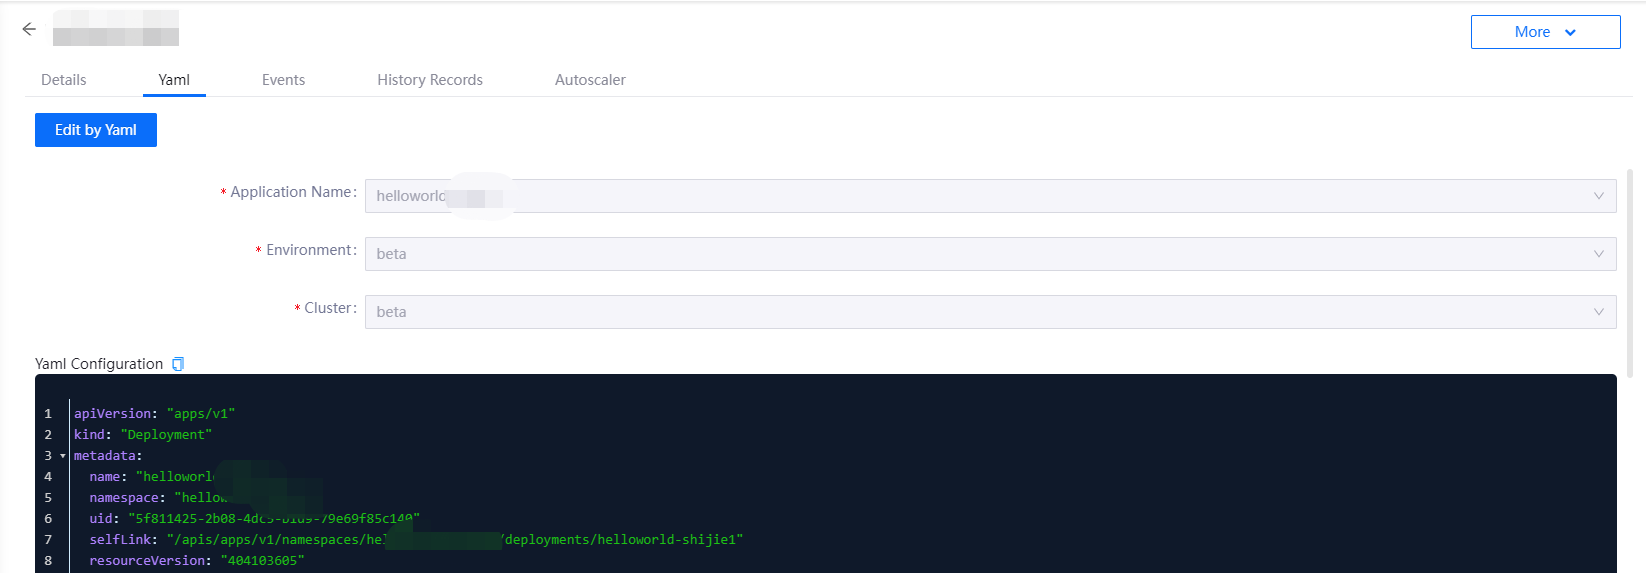
Click into Workload > Deployments and select the application. As in the step example above, select the application with the application name demo-01, click into the Yaml field on the details page, and copy the Yaml configuration.

Click New Deployment and select Create by Yaml.
Enter the yaml file copied in step 5, replacing the name and application name with the name and label app in the metadata.
You can view the Event information for this operation in the Event tab after checking the Deployments details page.
Click into Workload > Pods to see the containers you just started via Deployments in action.