Unit 1: Managing Standard Car Models
A standard model defines the common characteristics of objects, often applicable to multiple projects. Therefore, domain experts must first create and maintain standard models. This tutorial uses managing a generic car model as an example to demonstrate the specific steps for preparing a standard model.
Operation Personnel |
Operation Location |
|---|---|
Domain Expert |
Application Portal |
Preparations
Before starting, domain experts must ensure the following:
Accounts have been assigned the required permissions. If permissions are not assigned, contact the system administrator.
They have obtained the model group required for the project. The model group for this tutorial is “Automobile Manufacturing”. If the group is not obtained, contact the system administrator to acquire the model group and its permissions.
Job 1: Predefining Model Elements
Devices transmit data with the cloud via model elements. In practice, domain experts should first identify the model elements that need to be referenced repeatedly and predefine these elements. In this job, car model and brand elements need to be predefined for reference in subsequent steps.
In the Developer Console of the Application Portal, select Model Element Library.
In the top-left corner, click Elements Created in This OU > Property > New Property. On the New Property page, configure the following information as prompted, then click Save.
Refer to the following information to configure the model elements that need to be predefined for this tutorial:
Type |
Name |
ID |
Group |
Data Types |
Maximum Length |
Description |
|---|---|---|---|---|---|---|
Attribute |
Model |
type |
Car |
string |
64 characters |
Car Model Information |
Attribute |
Brand |
brand |
Car |
string |
64 characters |
Car Brand Information |
Job 2: Creating Components
In this job, you need to build models for the car’s wheels and body, and declare these models as components. These components will later be combined into the standard car model.
In the Developer Console of the Application Portal, navigate to the Model Element Library, then go to Models Created in This OU > New Model in the top-left corner.
Refer to the “Model Configuration” column to create models for the car’s wheels and body in the pop-up window, then complete the creation by clicking Create.
In the list of custom models, click Edit on the right of the target model to enter the model editing page. In the model definition page, select New > Property.
Refer to the “Model Element Configuration” column to create model elements in the pop-up window, then click Save.
In the model list, click … > Component on the right of the target model. Toggle the Set as Component switch and select OK.
Refer to the following information to configure the components that need to be created for this tutorial:
Car Parts |
Model Configuration |
Model Element Configuration |
|---|---|---|
Car Wheel |
|
|
Car Body |
|
|
Job 3: Creating the Standard Model
In this job, create a standard model for generic cars. Define the car’s common properties and combine the components into the standard model.
Step 1: Creating New Standard Models
In the Developer Console of the Application Portal, select Model.
Click Models Created in This OU > New Model in the top left of the page and configure the model attributes as prompted, including:
Group: Automobile Manufacturing
Name: Car
Business ID: car
Model Purpose: Application Building, Device Integration
Description: Car Model
Select Configure Model to enter the configuration page.
Step 2: Creating and Referencing Model Elements
On the model definition page, select New > Property. In the pop-up window, set the following functions and click Save after completing the configuration.
Type: Attribute
Name: Power Type
ID: powertype
Data Type: enum
Enumeration Value Type: string
Enumeration Values: (Parameter value: parameter description)
hybrid: Hybrid power
electric: Pure electricity
Description: Power Type
Click … > Reference Property next to New. In the pop-up window, check the brand and model elements predefined in Job 1.
Click Next > OK to save the referenced attributes.
Step 3: Referencing Components
Click … > Reference Component next to New on the model definition page.
In the pop-up window, check the created components, modify the names and identifiers based on the following information, and click OK to save the components.
Note
In this tutorial, the wheel component is referenced 4 times to define the four wheels of the car.
Job 4: Configuring Model Views
In this job, domain experts configure the model views of the standard model in preparation for subsequent application development.
On the configuration page of car model, select Model View > New View.
In the pop-up window, enter the following information and click OK:
Name: Car Basic Information
ID: car_basic_information
Click the Configure
 button to the right of the view to enter the configuration page.
Click the Add
 button to the right of Sub-View, enter the following information in the pop-up window, and click OK:
Name: Default
ID: default
Select Add Element. In the pop-up window, check the following properties and click OK:
Brand
Type
Size (Wheel)
Size (Body)
Power Type
Results
After completing the above jobs, you can view the following information for the car model on the model configuration page:
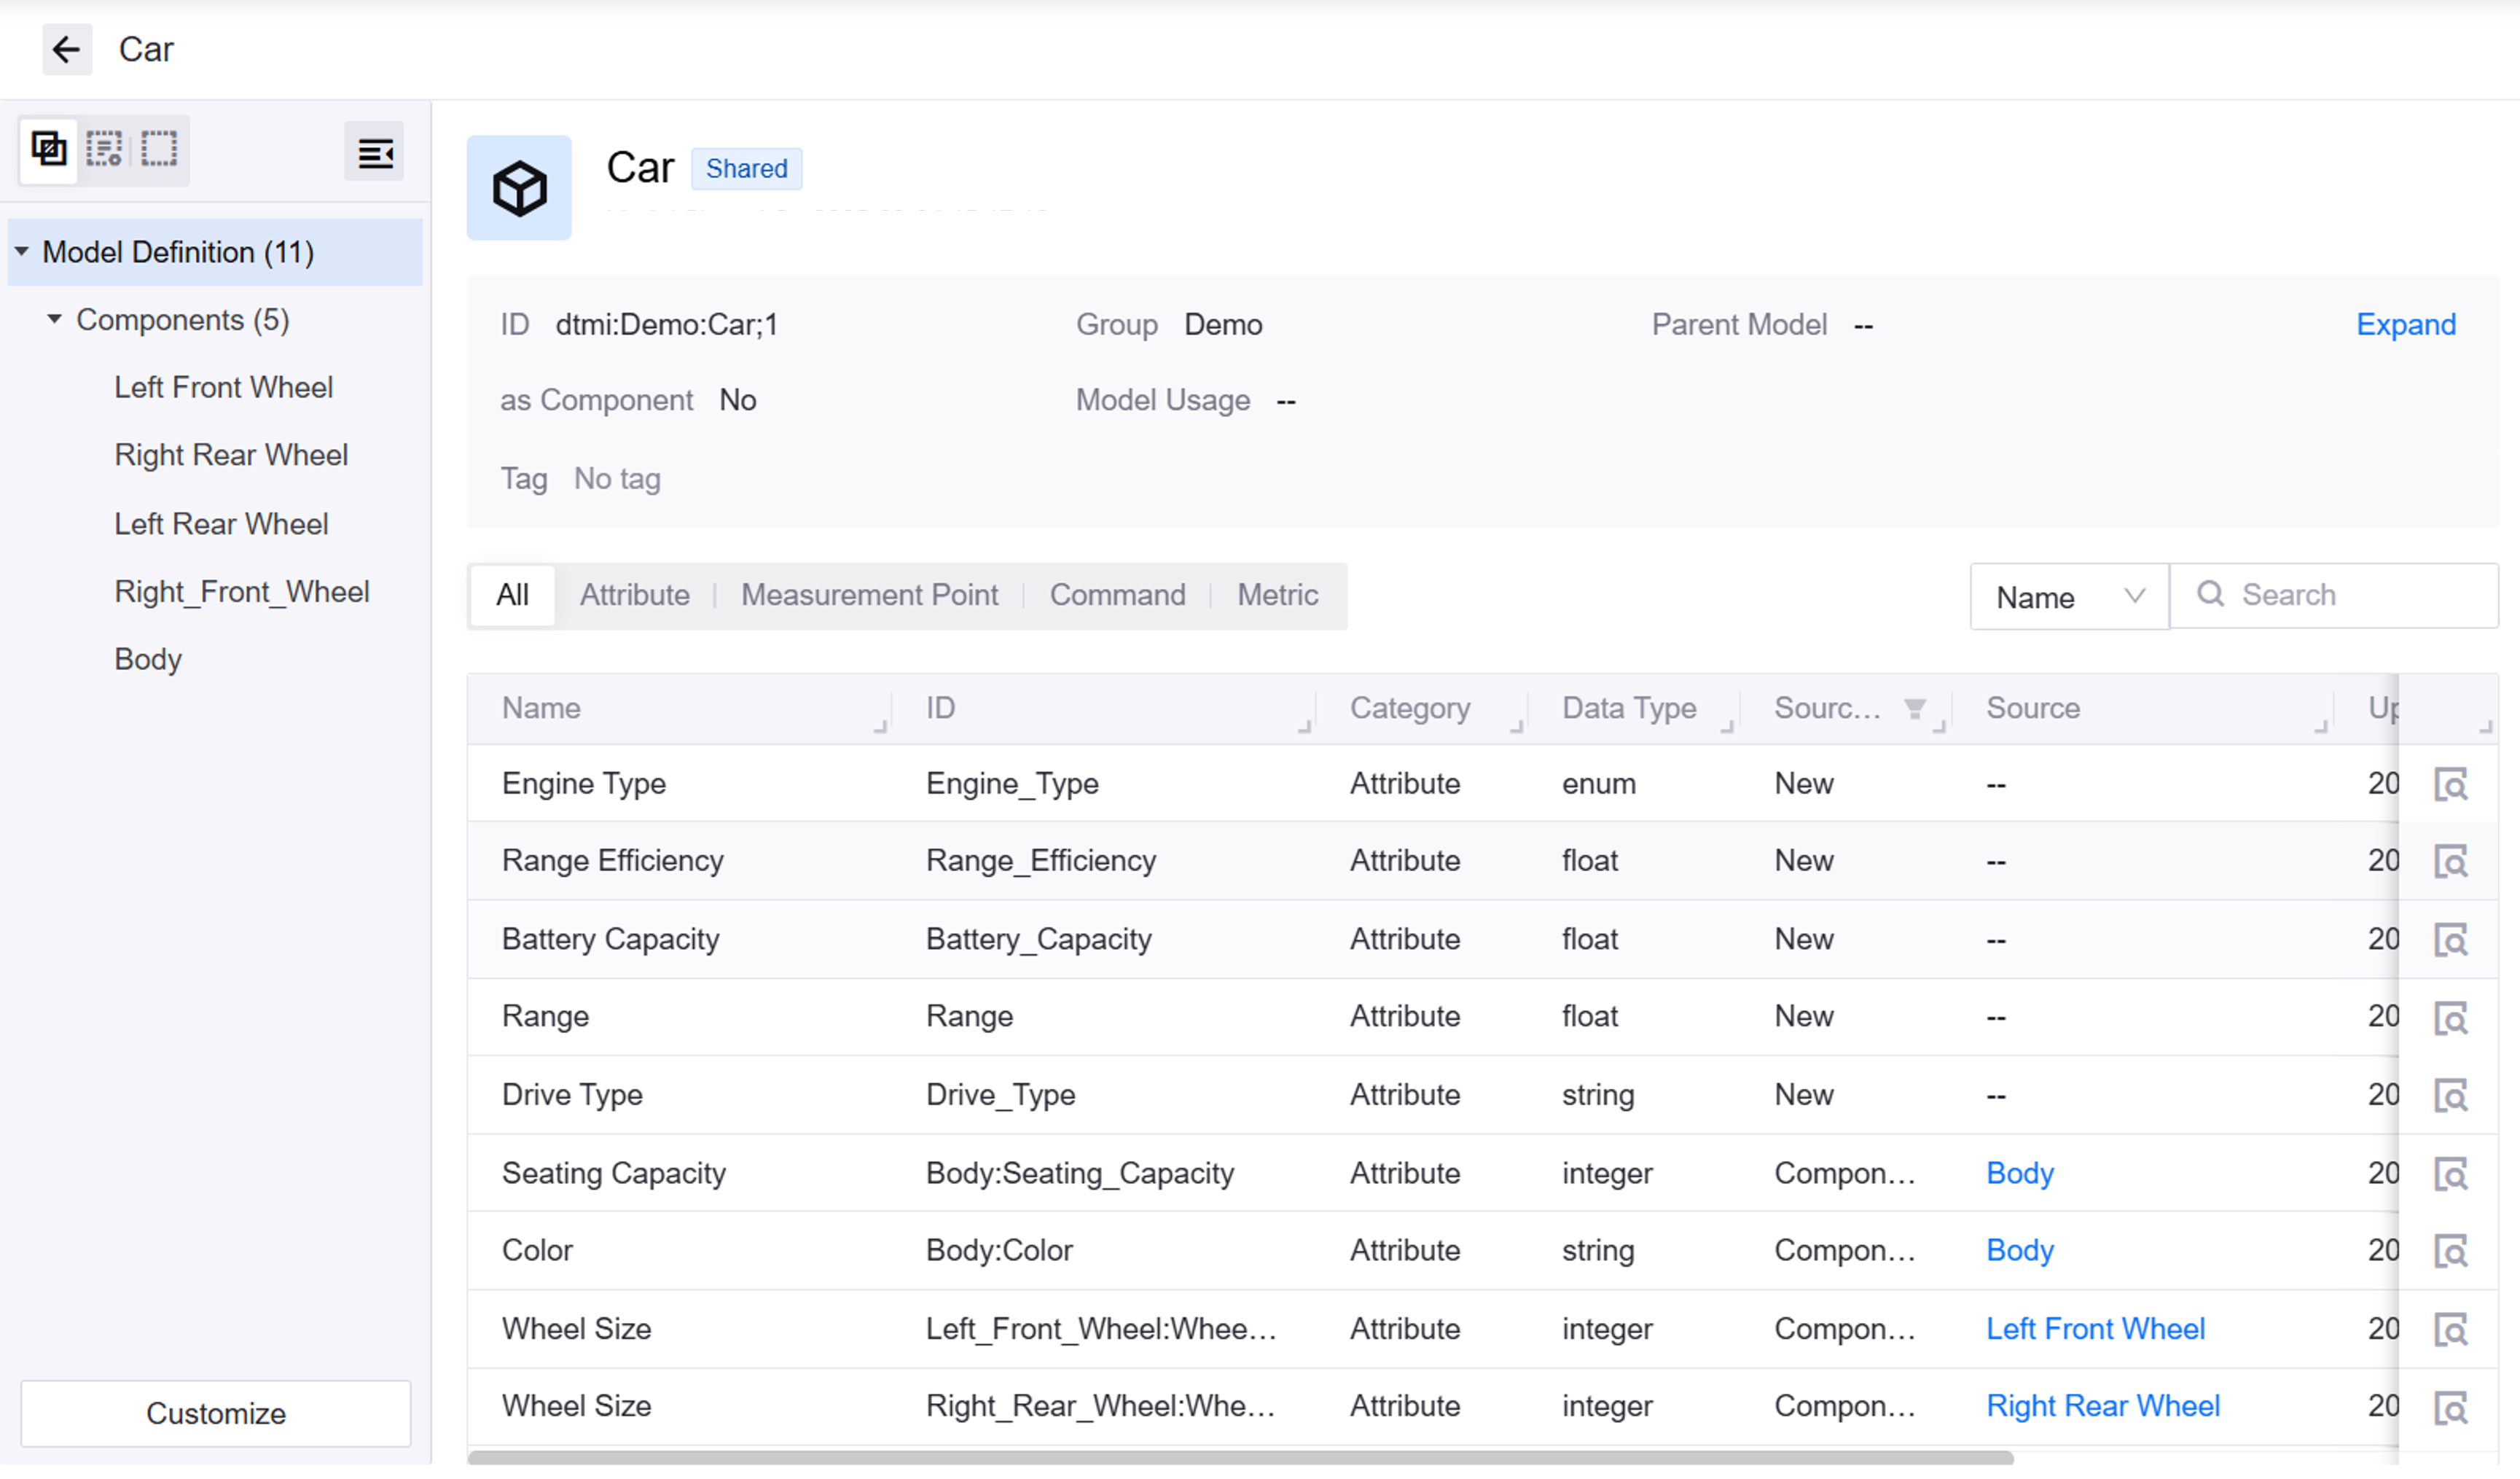
Model Elements: Brand, Type, Size, Power Type
Components: Body, Left Front Wheel, Right Front Wheel, Left Back Wheel, Right Back Wheel, DCM Device Integration Model (automatically configured by the system)
Model View: Car Basic Information