Running Pipelines and Checking Results
After creation, the pipeline will run according to the configured triggering mode. Based on your business needs, you can manually trigger a pipeline and view the status and results of the running pipeline.
Running a Pipeline
You can manually run a pipeline with the following steps.
In the EnOS Management Console, navigate to Enterprise Container Platform and select Development > Pipeline.
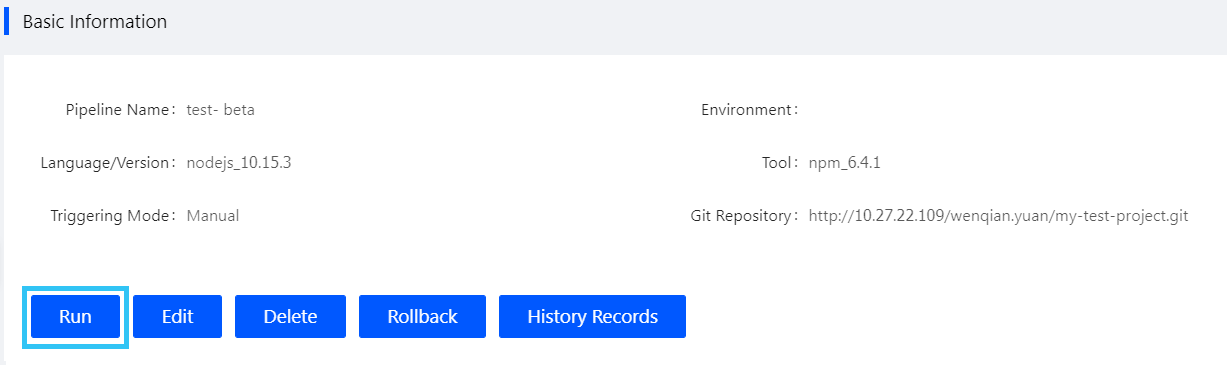
In the list of created pipelines, click the name of a pipeline to open its Basic Information page.
Click the Run button, select a code branch, and run the pipeline.
Viewing the Running Results
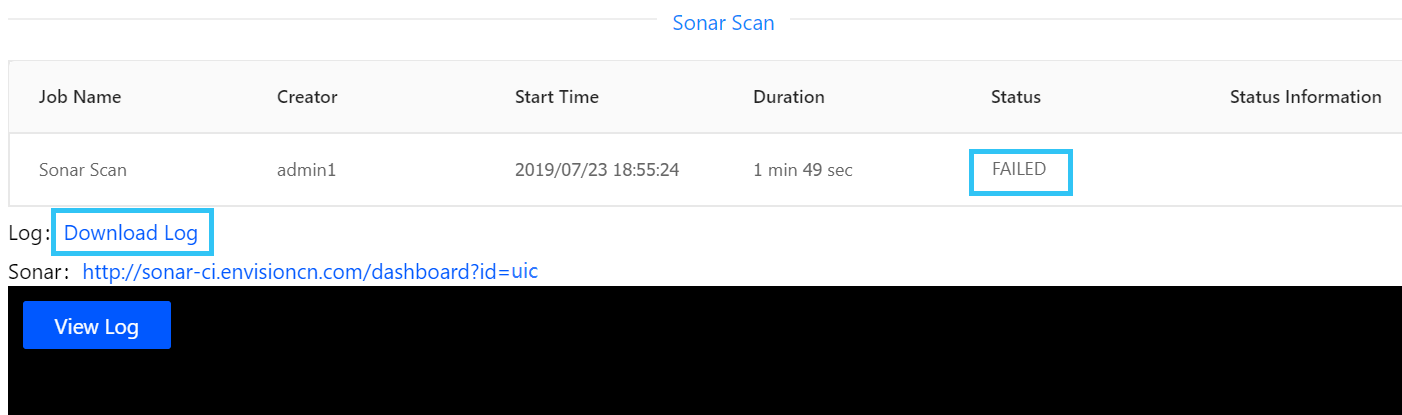
After the pipeline starts running, its running status and results will be displayed in the Running Result section.
Click on the job name in the pipeline to see the results of each job.

If a pipeline job fails, click the View Log button or download the log to find the cause of failure. After editing the pipeline and jobs, rerun the pipeline.
When the build job runs successfully, the image tag will be generated automatically. The naming convention of the image tag is as follows.
master branch: master_{git_project_name} timestamp, repeatable build
feature branch: feature_{feature_name} timestamp, repeatable build
release branch: {release_name}, non-repeatable build
Note
The feature branch refers to non-release branches (i.e. branches that do not start with “release”).
Next Step
After running the pipeline, you can edit, delete the pipeline, rollback the pipeline deployment configuration, and query its running history.