Deploy a Model Version
After the model version is staged, it can be deployed to the corresponding container to run.
Create a Deployment Instance
Log in to EnOS Management Console and select AI Studio > AI Hub from the left navigation pane.
In the model list, select a model name to open the Model Version Management page.
Under the Online Instance tab, select New Instance.
Enter the following information:
Instance name: enter the deployment instance name.
Resource Pool: select the created resource pool.
Tag: enter the deployment instance tags.
Description: enter the description of the deployment instance.
Select Confirm to complete the deployment instance creation. The newly created deployment instance appears in the Deployment Instance list.
Configure the Deployment Instance
Deploy a New Version
Select AI Studio > AI Hub from the left navigation pane.
In the Deployment Instance list, select the deployment instance name to open the model deployment page.
In the editing canvas, select Configure, then select Add the version to be deployed.
Select a model version in the pop-up window and select OK.
The added model version will be displayed as a Version card in the editing canvas. Select the Version card, and then configure the resources for running the model version in the Deployment Configuration window on the right panel:
In the Resource Request section, enter the CPU and memory required to run the model version
In the Resource Limit section, enter the upper limit of CPU and memory for running the model version
If GPUs are available, you can choose whether to use GPUs.
If you need to automatically scale up or down the resources required to run the model service based on the busy rate indicator of the model service, you can turn on Enable Auto Scale and complete the following configuration:
In the Pod Replicas section, enter the minimum and maximum values of Pod replicas
In the Scaling Metrics section, select the trigger indicator (CPU or memory) that initiates the elastic scaling and enter the target average utilization
Select Deploy in the upper right corner of the page, and the system will deploy the model version according to the set resource configuration. Unfold the deployment log to view the progress of the model version deployment.
Test the Deployed Version
After a model version is successfully deployed, test the deployed model version by the following steps:
Select AI Studio > AI Hub from the left navigation pane.
In the Deployment Instance list, select the deployed instance to open the model deployment page.
In the editing canvas, select the Predictor card in the editing canvas bar on the left side of the model deployment page, and you can view the calling method and calling address of the model service on the right side.
In the Timeout input box, set the
timeoutlimit for accessing the model service API. The minimum time can be set to 1000ms, and the maximum time can be set to 600000ms.Under the Online Test tab, select the Service Calling Test type, and enter the test parameters in the Input box, and then select Test to test and verify the model service.
Under the Online Test tag, select the Feedback Test type, and enter the test parameters in the Input input box, and then select Test to test and verify the model feedback.
Return to the Model Version Management page, and you can check that the status of the model version has changed to
Productionunder the Version Management tab.
(Optional) Adjust Model Input Format
If the input formats of a staged model version are incompatible with the format of model inputs supported by AI Studio, adjust the model input format by the following steps:
Select AI Studio > AI Hub from the left navigation pane.
In the Deployment Instance list, select the deployment instance name to open the model deployment page.
In the editing canvas, turn on the Pre-process toggle to add the Pre-processor card to the canvas.
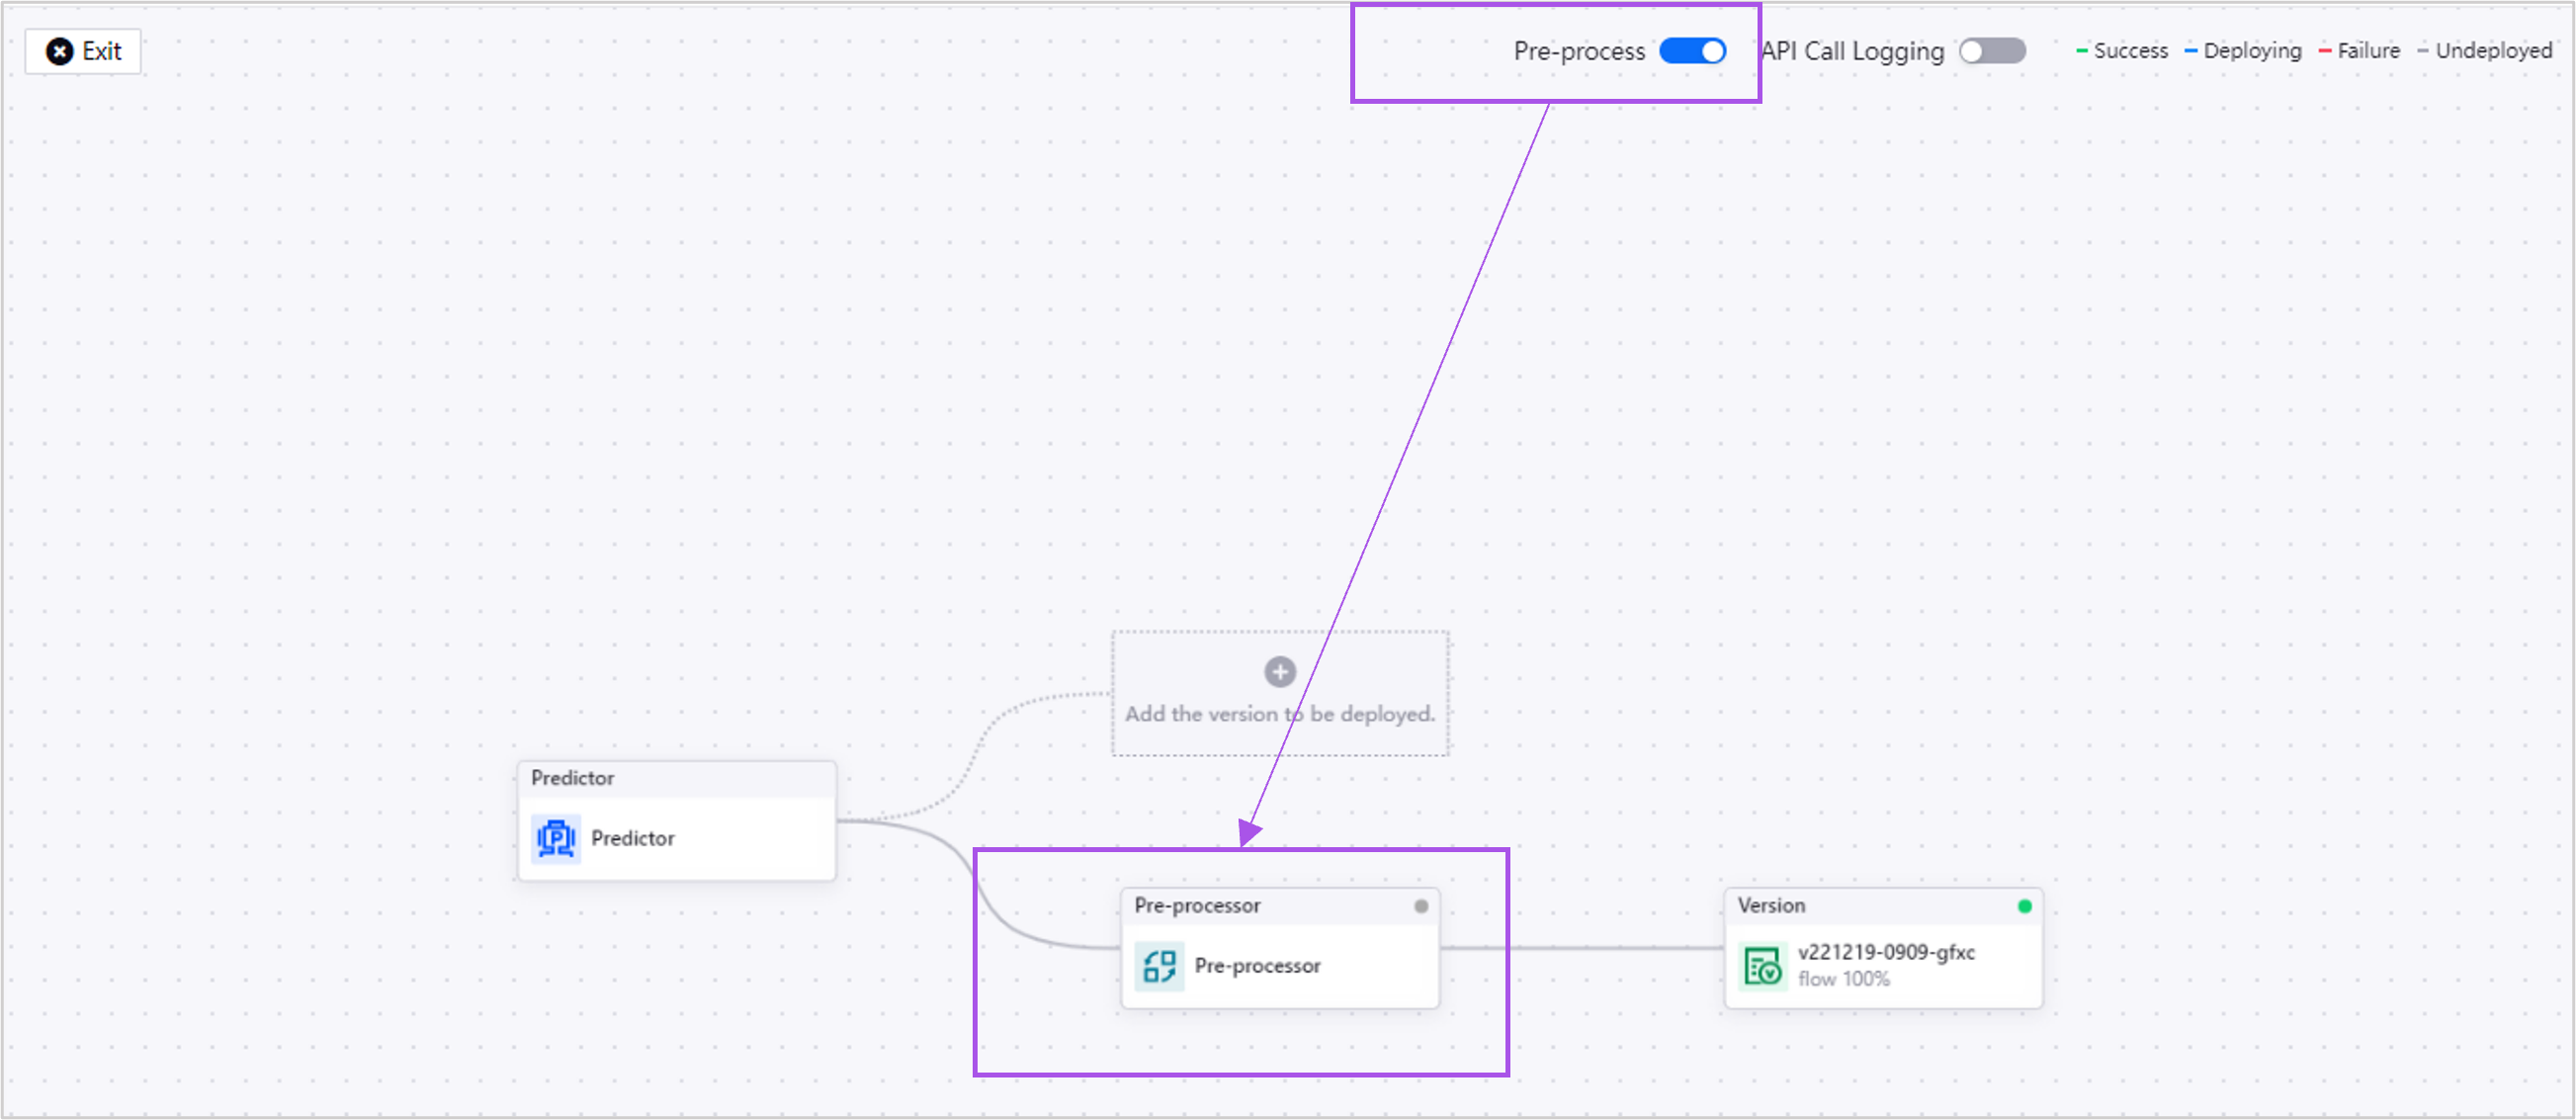
Select the Pre-processor card and enter the Pre-Processing Script to adjust the input format of the model on the right panel, which should look like this:
import json
import logging
import numpy as np # you may use numpy if necessary

def transform_input(user_input: dict) -> dict:

   log=logging.getLogger()
   log.info("this is a sample log in code")
   user_input["data"]["ndarray"][0][0] = 2
   user_input["data"]["names"][0] = "input_2"
   return user_input
Select Deploy.
(Optional) Log API Calls
If you want to log the API Call records, configure the API Call Recorder card by the following steps:
Select AI Studio > AI Hub from the left navigation pane.
In the Deployment Instance list, select the deployment instance name to open the model deployment page.
In the editing canvas, turn on the API Call Logging toggle to add the API Call Recorder card to the canvas.
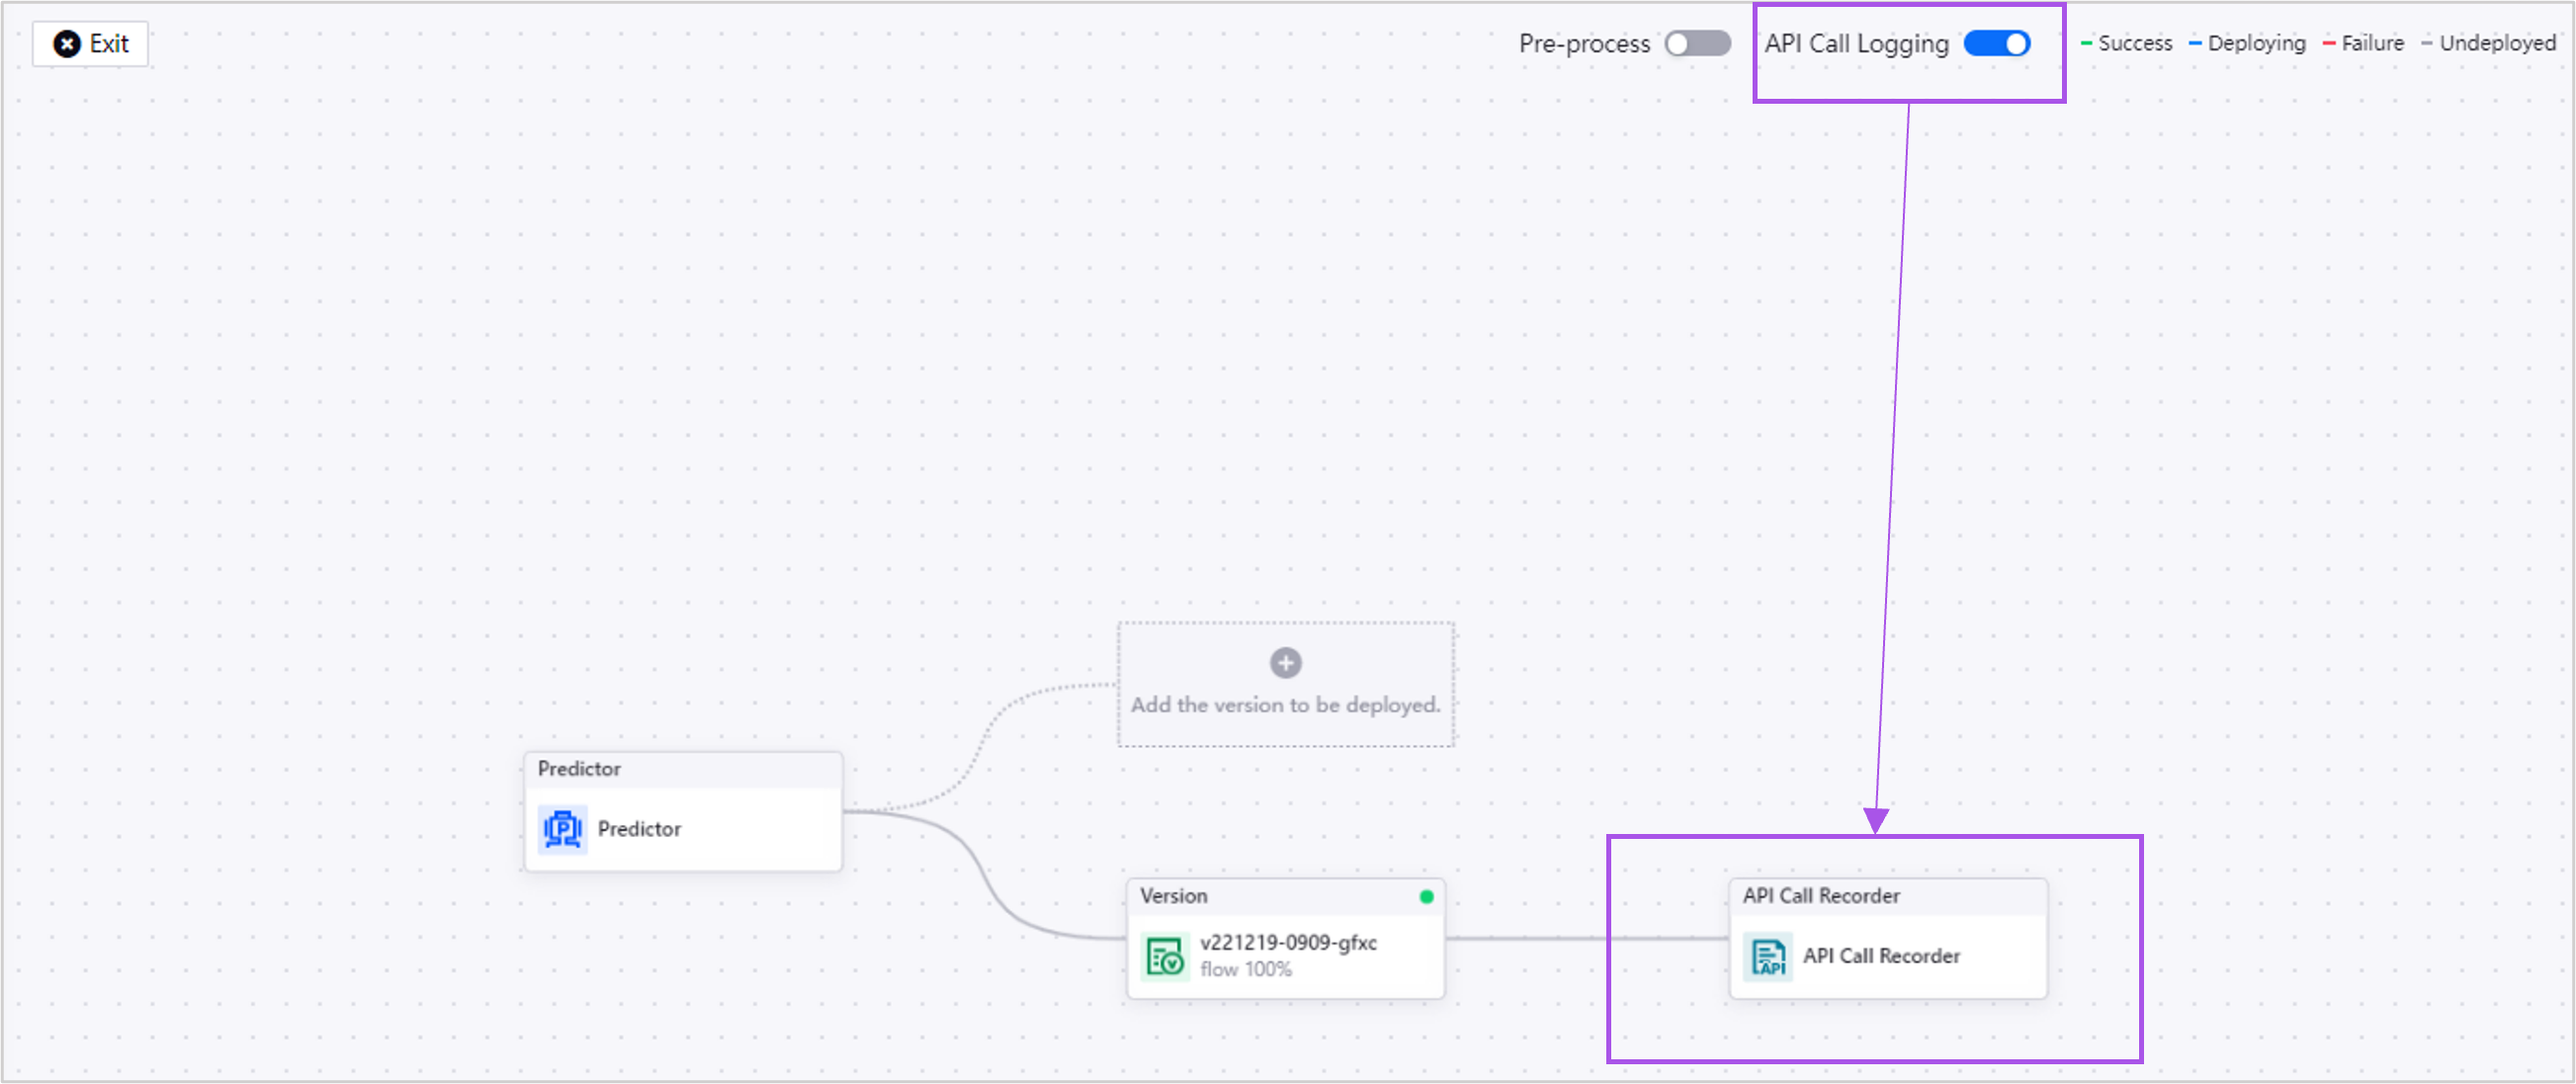
Enter the following information on the right panel:
Target Data Source: Select a MySQL or Hive data source to log API call records to.
Target Table: Enter the name of the record table.
Select Deploy.
If you want to write the test data into the target data source, enable API Call Recorder before testing in Predictor. Otherwise, disable Api Call Recorder before testing.