Configuring Custom Statuses
Although BPM provides runtime statuses to show the execution progress of a process, you can create your own set of custom statuses to represent the different stages of a process based on your business needs.
This section describes how to create custom statuses.
Procedure
Create Status Groups
In the navigation pane, select Settings > Custom Status.
Click New Status Group.
In the Name box, enter a name for the group.
In the Key box, enter a unique key used to identify the group.
Note
The key cannot be changed once the settings are saved. If you want to change the key, you must delete the status group and create a new status group.
Click Save.
A new row appears in the list of status groups.
Edit Status Group Properties
In the navigation pane, select Settings > Custom Status.
A list of custom status groups appears.Next to the status group that you want to configure, click View.
The status group details page appears.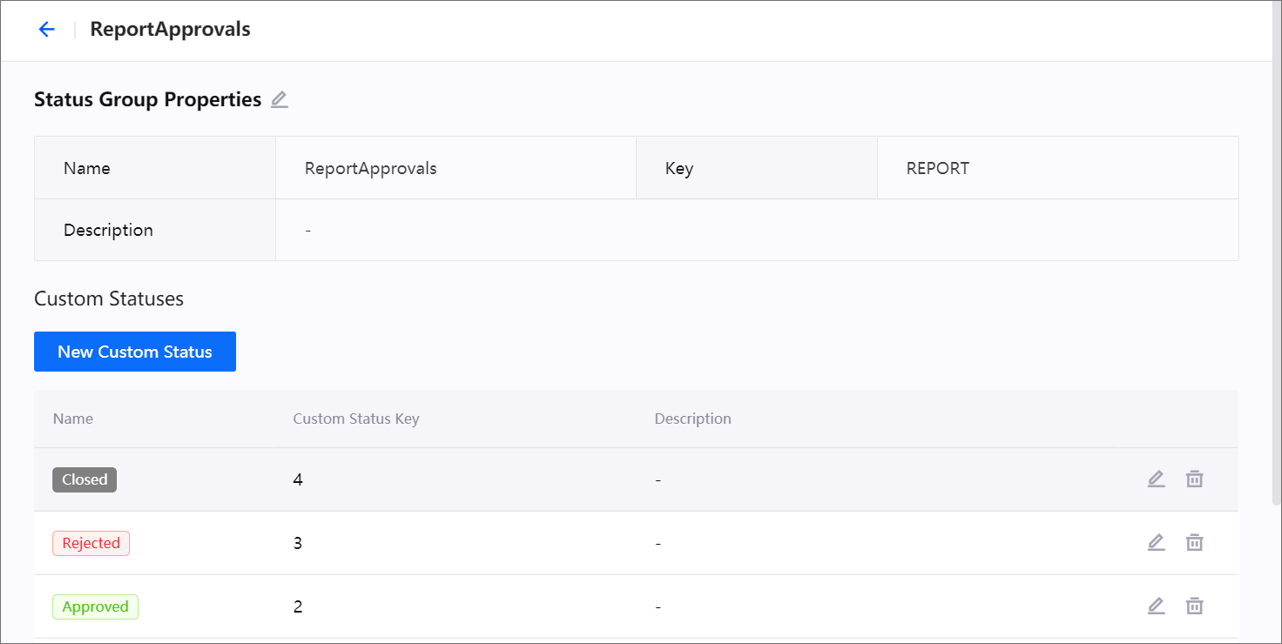
Next to Status Group Properties, click Edit.
Modify the details as necessary.
Click Save.

Add Custom Statuses
In the navigation pane, select Settings > Custom Status.
A list of custom status groups appears.Next to the status group that you want to configure, click View.
The status group details page appears.
Click New Custom Status.
In the Name box, enter a name for the status.
In the Key box, enter a unique key used to identify the status.
Note
The key cannot be changed once the settings are saved. If you want to change the key, you must delete the status and create a new status.
From the Color drop-down list, select the font color that is used to display the status name.
Click Save.
A new row appears in the list of custom statuses.
Edit Custom Statuses
In the navigation pane, select Settings > Custom Status.
A list of custom status groups appears.Next to the status group that you want to configure, click View.
The status group details page appears.In the Custom Statuses section, click Edit next to the status that you want to edit.
Modify the details as necessary.
Click Save.
Results
You can now apply the custom statuses to process models so that the custom statuses appear on the corresponding running processes.

Note
Once a status group or status has been applied to a process, it cannot be deleted.