Creating a Model
A model is an abstraction of product functionality. Based on Basic Modeling: Designing and Creating Models , if existing shared models cannot meet your requirements, you can create models in the following ways:
Create a Model by Cloning: Clone an existing shared model or custom model within the OU. Edits to the clone model will not affect the original, enabling quick creation of similar models with minor modifications. For more information, see Creating a Model by Cloning.
Create a Model by Inheritance: Create a new model by inheriting an existing shared model or custom model within the current OU. Add new configurations to the parent model, and updates to the parent model will sync to the child model. This method is ideal for extending existing models. For more information, see Creating a Model by Inheritance.
Add Custom Configurations to Shared Models: Add custom configurations exclusive to the current OU, combining them with the original shared model configuration. This does not affect the original model’s usage in other OUs, and custom configurations cannot be shared across OUs. For more information, see Adding Custom Configurations to Shared Models.
Create a Model from Scratch: When existing models are not reusable, you can create a new model from scratch. For more information, see Creating a Model from Scratch.
Batch Importing Models: Create multiple models and their elements, property rules, and views in batches. For more information, see Importing Models.
This article explains how to create models by cloning, inheriting, adding custom configurations to shared models, and create a model from scratch.
Prerequisites
You need the necessary permissions to create models. If you lack these permissions, contact your OU administrator. For more information, see Model Management Permission Allocation.
Creating a Model by Cloning
Go to Developer Console in Application Portal and select Models > Models Created in This OU / Shared Models.
In the model list, click … > Clone for the target model.
In the pop-up window, define the Group, Name, Business ID, and Description for the new model.
Click Create to complete the creation or Configure Model to continue Configuring Model Definition.
The cloned model is independent of the source model, with all elements, components, property rules, and views duplicated. For details on cloning, see Model Relationships - Clone.
Creating a Model by Inheritance
Go to Developer Console in Application Portal and select Models > Models Created in This OU / Shared Models.
In the model list, click … > Inherit for the target model.
In the pop-up window, define the Group, Name, Business ID, and Description for the new model.
Click Create to complete the creation or Configure Model to continue Configuring Model Definition..
The model created by inheritance is defined as a Child Model, and the inherited model is defined as the Parent Model. For details on parent-child model relationships, see Model Relationships - Inherit.
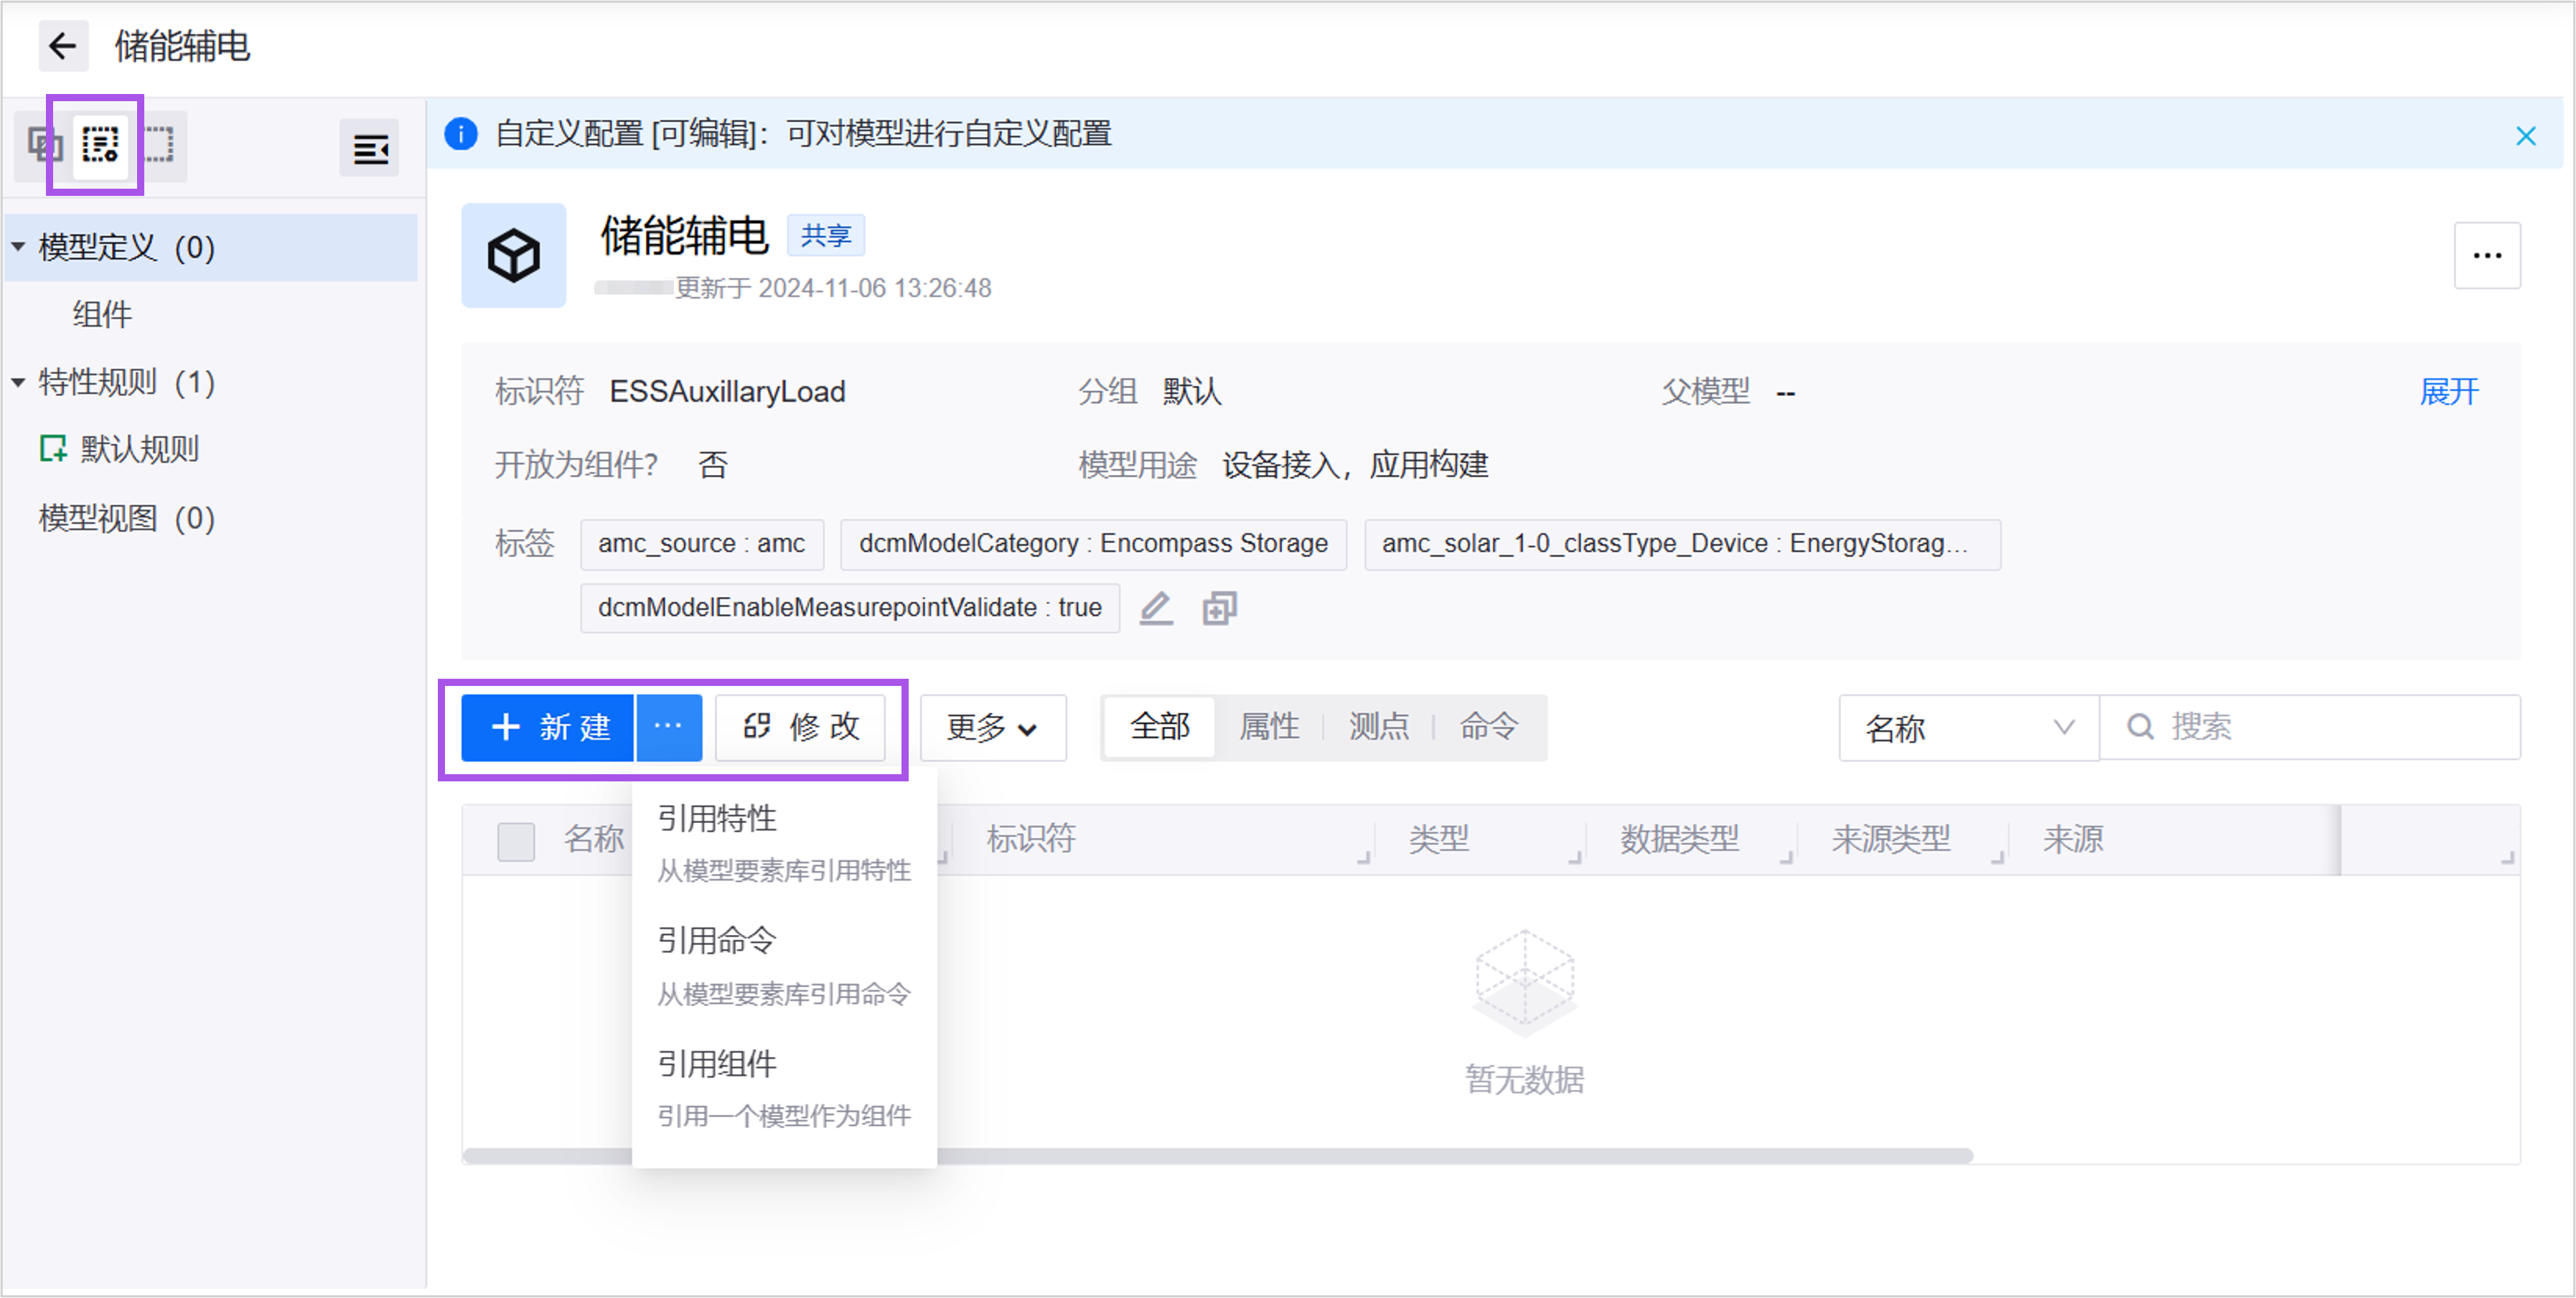
Adding Custom Configurations to Shared Models
Go to Developer Console in Application Portal and select Models > Shared Models.
Click the Edit
 button to the right of the target model to enter the model details page.
(Optional)If there is no custom configurations for this model, click Add Custom Configuration first.
Click the Custom Configuration button in the top left to customize the model, including:
Click + New button to create a property or a command.
Click … next to + New, reference properties, commands, or components.
Click Modify to override existing properties or commands with custom settings. Unmodified elements retain their original configurations.
Creating a Model from Scratch
Go to Developer Console in Application Portal and select Models > Models Created in This OU.
Click New Model in the top left of the page and provide the model information as prompted, including:
Group: Select an existing model group. The default group typically contains legacy models of all domains from EnOS 2.X, which cannot be shared to other OUs.
Name: The name of the model.
Business ID: Together with the group ID, this will be part of the model’s unique ID.
ID: Typically, an ID is composed of dtmi:GroupID:BusinessID:Version and is automatically generated. For models in the default group, the ID matches the business ID.
Model Usage: Choose one or more usages based on your scenario. If the model does not serve the following purposes, you can skip this field.
Application Building: Required to access the model in EnOS Common Data Service for application development using EnOS Industry Application Common Building Blocks.
Device Connection: Required to use the model for device onboarding in Device Connectivity and Management. The model will automatically be associated with the default components for Device Connectivity and Management. Removing this usage requires manually disassociating components.
Description: Provide the description of the model.
3. Click Create to complete the creation. or Configure Model to continue Configuring Model Definition.
Results
The newly created model will list in the Models Created in This OU tab, where you can:
Delete the Model: Click … > Delete Model on the right.
Edit the Model: Click the Edit
button, then … > Edit Basic Information in the model definition page to edit the model name, usage, and description.Add Tags: Click the Edit
button, then the Edit button next to Tags to define tags for the model.
Next Steps
After creating a model, you can proceed with these steps: